
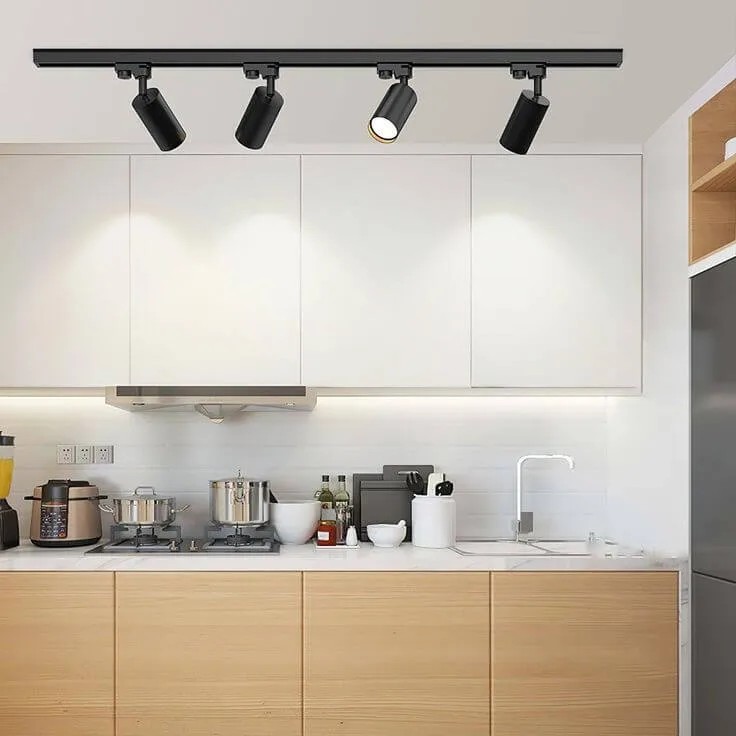
Track lighting is a versatile, stylish lighting solution that can be used to highlight artwork, illuminate workspaces, or create a modern feel in a room. Whether you’re installing track lights in a new space or upgrading your existing lighting setup, this step-by-step guide will help you achieve a professional-looking installation. We’ll tell you everything you need to know about installing track lights, from planning the layout to wiring and installation.
Prepare tools before installation
Before starting the installation, gather the following tools and materials:
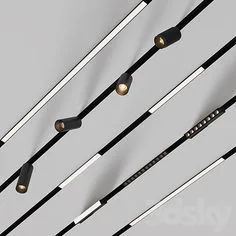
- Track lighting kit (including track, fixtures, and Track light)
- Voltage tester
- Wire strippers/cutters
- Screwdriver
- Drill with bits
- Measuring tape
- Pencil
- Ladder
- Wire nuts
- Anchors and screws (if mounting on drywall)
Start of installation
1. Determine the layout of the track lights
First, you need to determine the layout of the track lights and where they need to be installed, such as the living room, study, or showroom. The track can be straight or curved according to your preferences. Determine the power supply location to ensure that it is close to the power supply for easy installation.
2. Make sure the power is turned off
Before installation, make sure that the power is turned off. It is very dangerous to work with electricity. To ensure safety, make sure that the power is turned off before installation.
3. Make marks
After designing the layout, you need to mark the places where you need to install them according to the layout. You can use a level to prevent the deviation of the position after your installation from affecting your expected effect.
4. Install the mounting track
Track lights, the track is an important part. We need to install the track before we can install the lamp body. Drill holes: If you are installing the track on drywall, drill holes for anchor points. Use the anchors and screws provided in your kit to secure the mounting bracket of the track to the ceiling. If installed on studs, you may not need anchors. Install the mounting plate: If your track lighting kit includes a mounting plate (especially if you are installing it on an existing junction box), fix it to the ceiling according to the manufacturer’s instructions.
5. Track wiring
Then, you need to connect the track lighting system and connect the track to the junction box. The wire colors need to be matched.
6. Install lamps
The installation of lamps is generally simple. Just clip the lamp body to the track and make sure that the lamp body can move smoothly on the track. The installation is successful. Then move the track light to the position you need to illuminate. The installation is complete.
7. Turn on the power
Turn on the power and test whether the track light can light up normally. If it can light up normally, the installation is complete.